I have talked about the wonderful Makerplace offered by my local library before. It is the ultimate playground for any creative person and I have been slowly trying out techo gadget after gadget.
One of my latest endeavors was to master their embroidery machine ( Brother N2750D) and what fun that was!

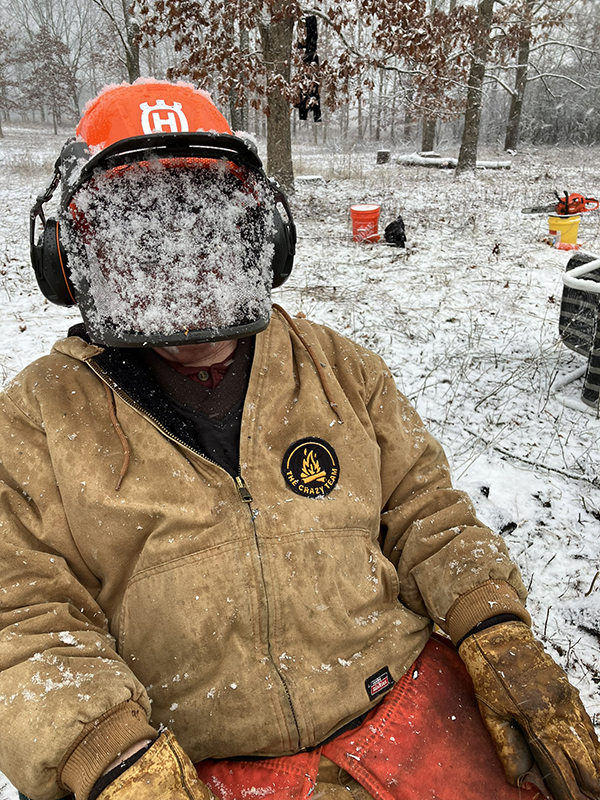
I always like to have a project in mind when trying out a new piece of kit and decided to make some stitch on badges for the crew I volunteer with in habitat restoration. We are know as the Crazy Team ( because we work all year long in any weather!) I had knocked up a little logo for us ages ago and thought it would translate well into an embroidered patch.
How to make and Embroidery patch
The Design
First thing first, create your design. There are lots you can find online or create your own in a vector program such as Adobe illustrator. Keep things simple and a minimum number of colors. Save your file in an .eps format.
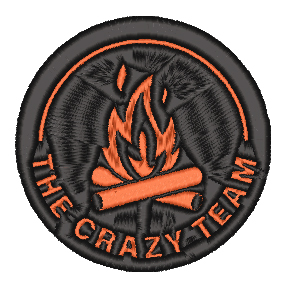
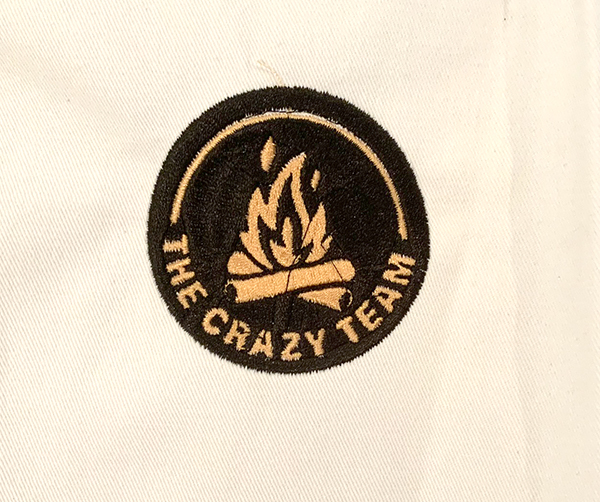
Here is the file I created for the Crazy Team

Conversion
The next stage is to convert your design into a format that can be understood by the embroidery machine. There is some handy dandy software from Hatch Embroidery where you can download a free 30 day trial. My Makerplace also had it available for free. The process is trial and error but you import your .eps file into the software and let it do it’s thing. Below you can see what the software spits out! Save your file to a jump drive.
Get Embroidering!
First of all prepare the fabric you wish to embroider. I selected a thick piece of cotton. Secure your fabric in an embroidery hoop, these come with the machine. It is also useful although not always necessary to use a fabric stabilizer which is placed underneath your hoop
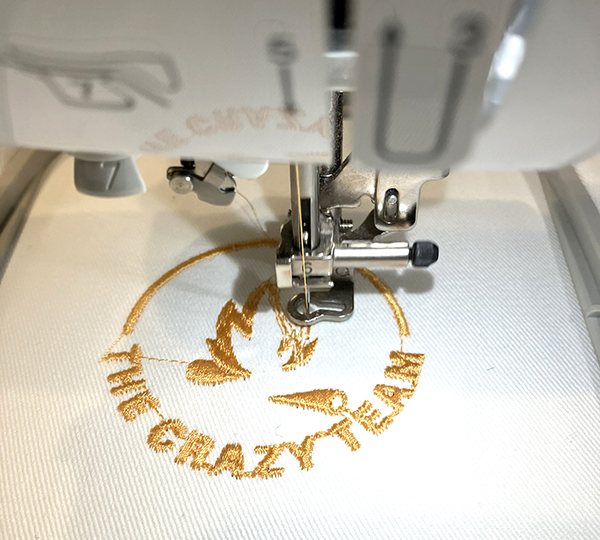
Pug your jump drive into the sewing machine and follow the prompts.
I did the orange first
Followed by the black
and here is the completed embroidery
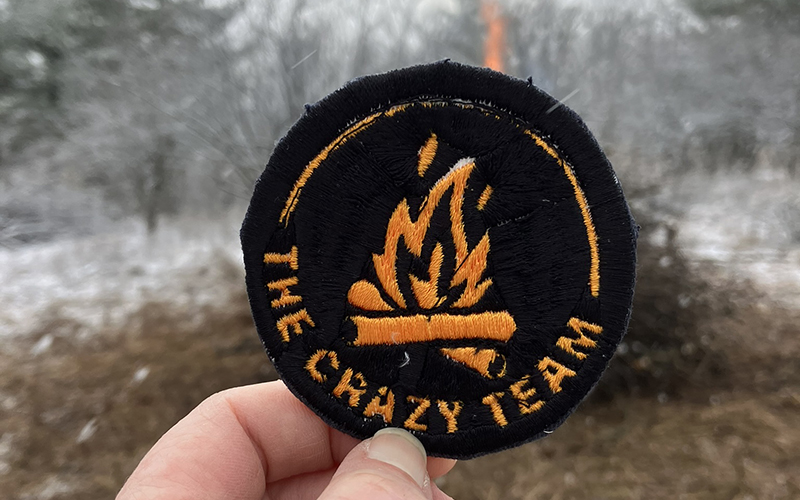
To finish the patch I trimmed around the edge and used an iron on adhesive strip to stick everything to the rear of the patch.
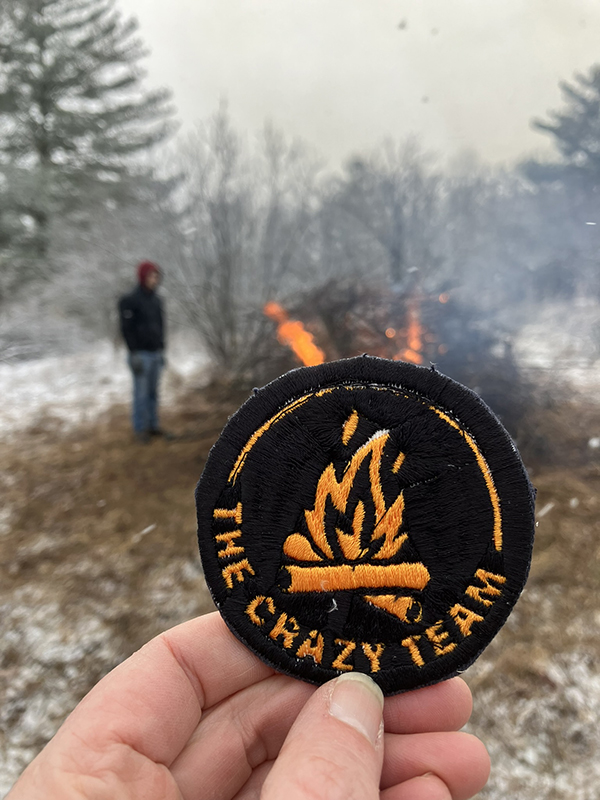
And here it is being modeled by one of the volunteers who is a little camera shy and wanted to hide his face!