

Super Easy Paper Orb Tutorial
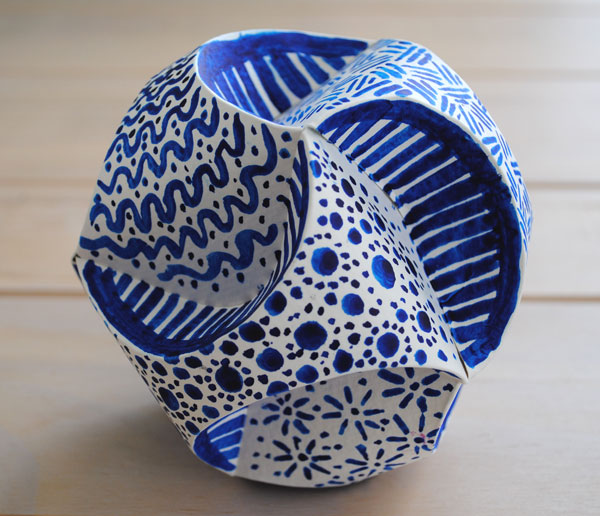
One of more popular posts on this blog is my crafty tutorial on how to make a Paper Orb. It involves quite a bit of cutting and scoring cardstock and some fun decorating but the end result are these gorgeous orbs.
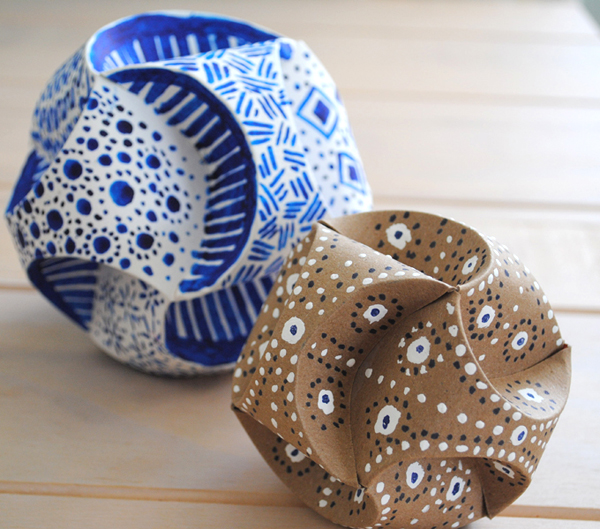
Now if cutting a scoring card is not your idea of fun I have come up with a paper Orb tutorial 2.0! It involves using a Cricut cutting machine to do all that cutting and scoring for you! I am lucky enough to have a local library that has an amazing Makers Space where I have access to one of these for free. These maker places are becoming more and more popular in libraries and some of them even have this type of equipment to check out too. You have to love that!
How to make a Paper Orb
You will need
- Cricut cutting machine with a cutting and scoring tool
- My FREE paper orb template
- Cardstock
- Tape
Download my FREE Paper orb Template. It is a .svg file

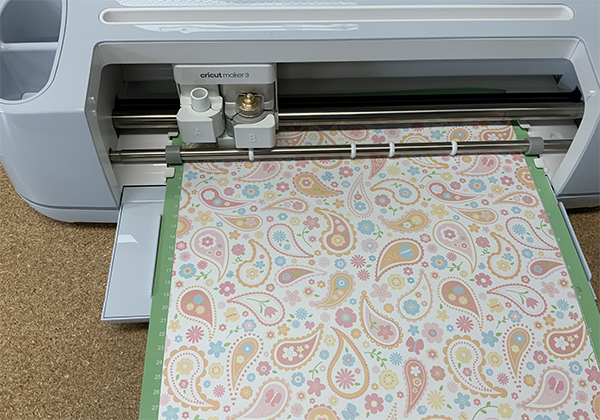
Open up the Cricut Design space software and upload the .svg file. Scale to your desired size. I set mine so I could use letter size substrate. By default all the lines will be set as cut lines. Select all the red lines and set them as score. Select all the lines and then “attach” them then click the Make button. The software will lead you through the making process through the choice of substrate ( I picked light card stock) and the selection of the cutting scoring tools. I know some Cricut machines can load both the scoring and the cutting tool at the same time but the machine I was using prompted me to load the scoring tool first and then I have to switch it out to the cutting tool.
The machine will score and cut your card with precision!
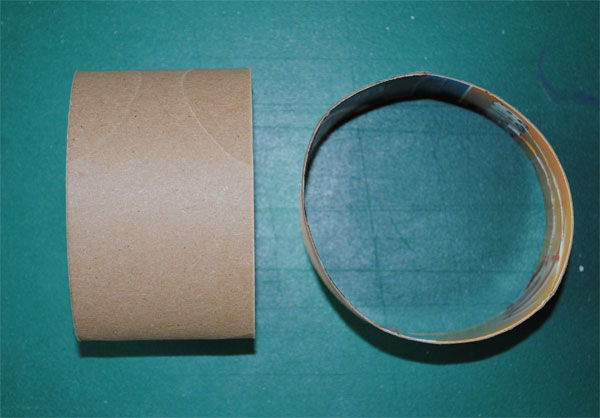
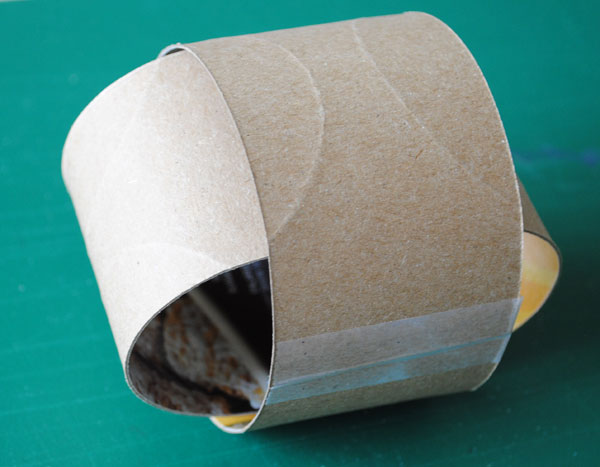
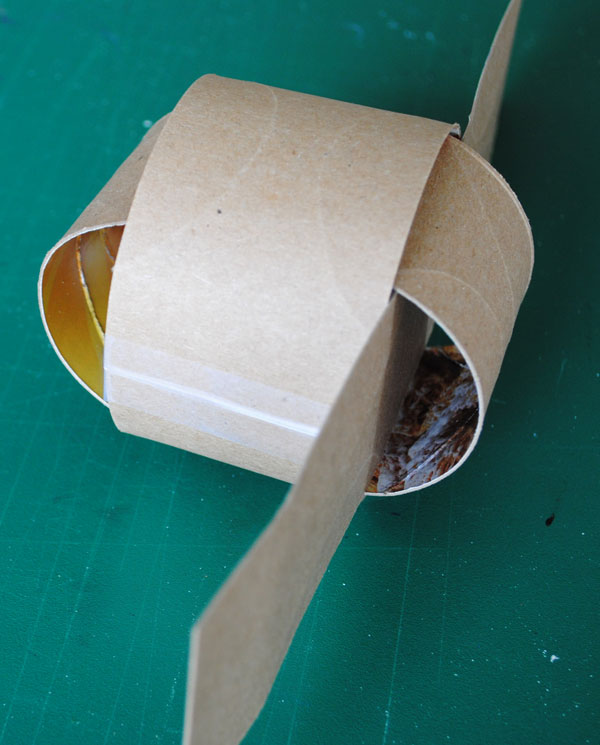
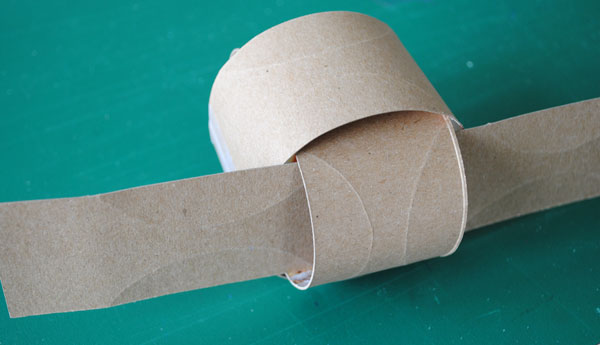
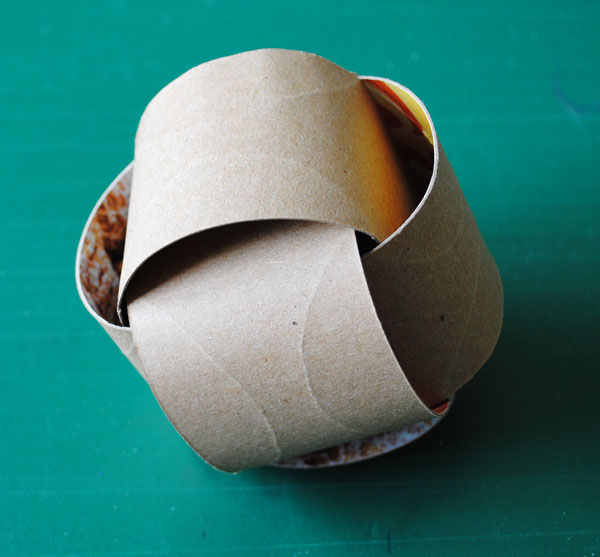
To construct the paper orb take your two strips of scored and cut cardstock and tape them to form loops. Set one inside the other at 90 degrees and then thread the remaining strip through as shown and then tape. Make sure all the scored areas are clearly visible – these are the photos from my original tutorial but the process is identical no matter how you create your pieces.
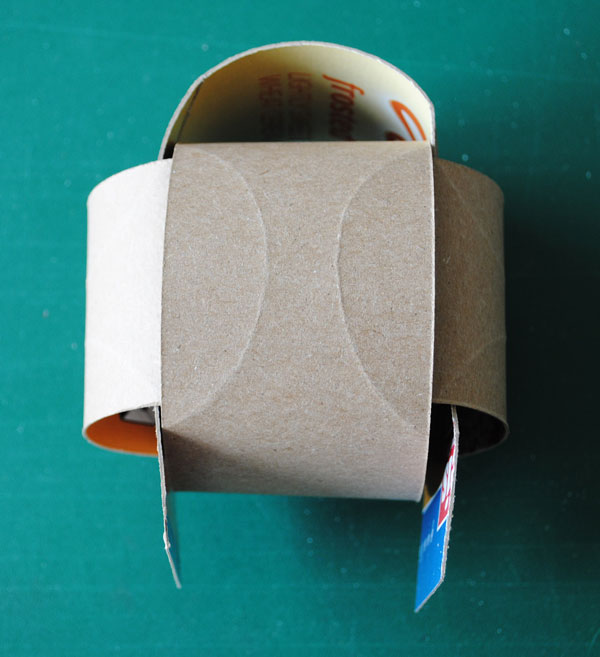
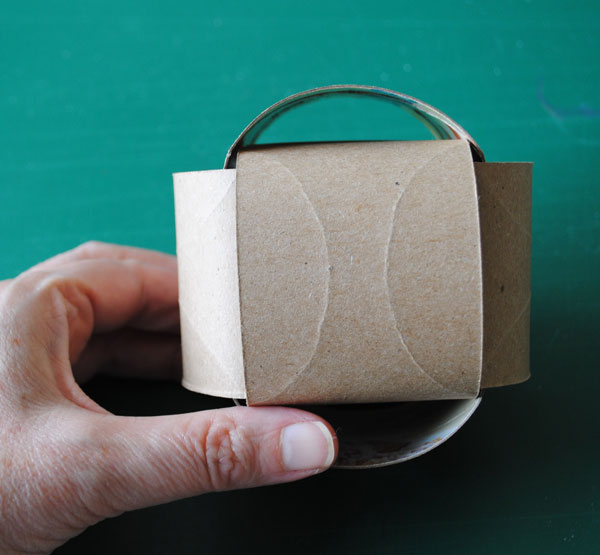
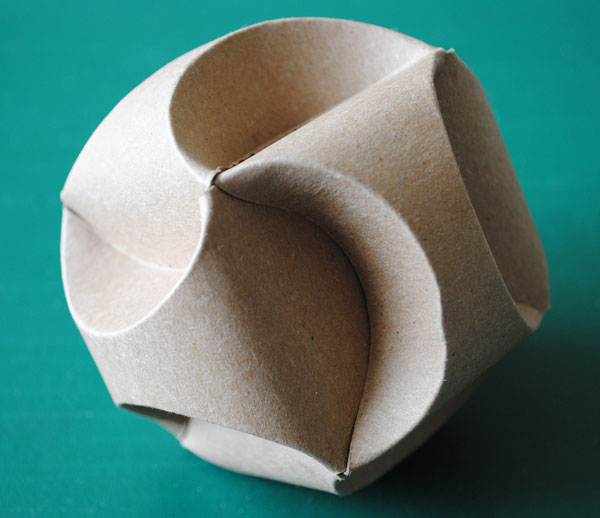
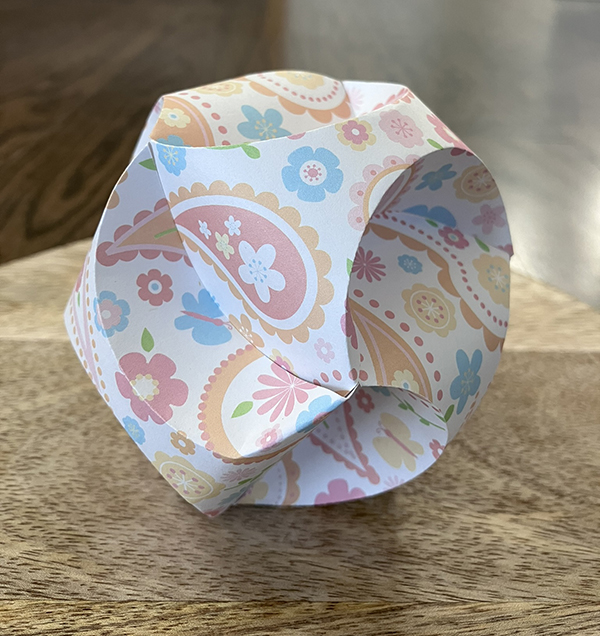
Then work the scored areas gentle in and hey presto you have your Paper Orb
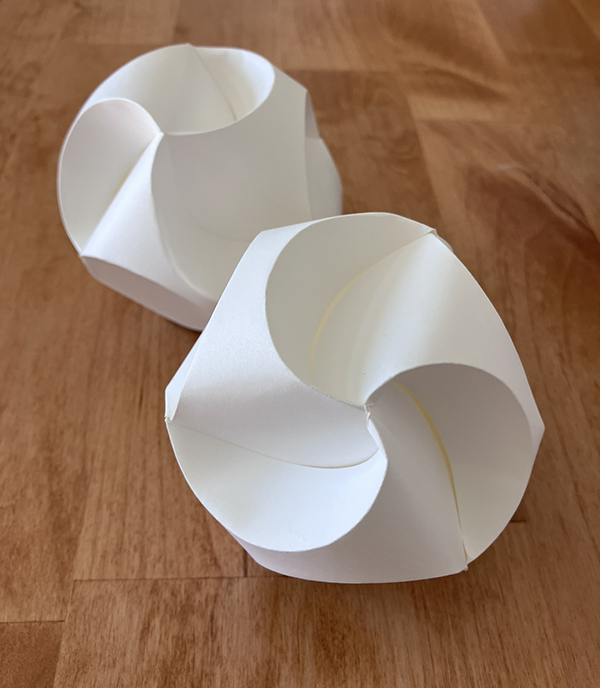
Once you have your Cricut fie set up is is super easy to really start cranking these out. I started with some simple plain white cardstock. Here they are ready for decorating.
I then had a go with some scrapbook paper which was an ultra quick way of having a finished orb!
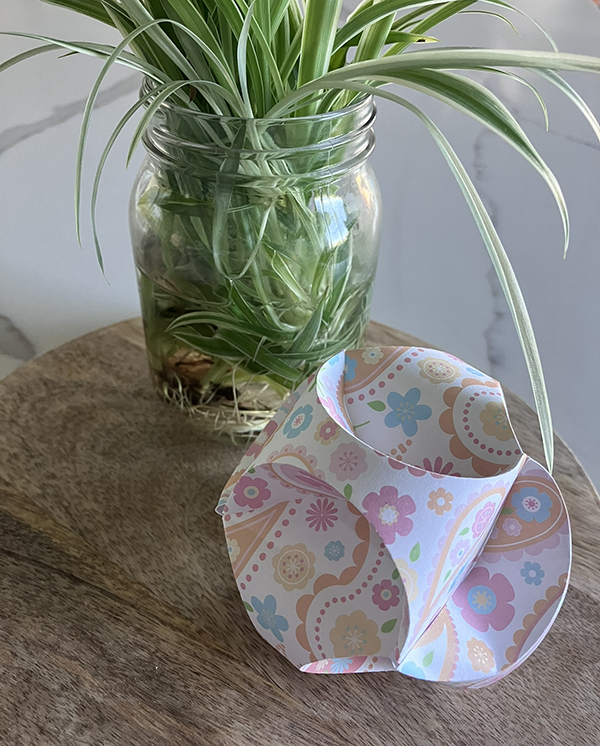
Next I tried on some thick watercolor paper- the Cricut machine made easy work of that – just remember to adjust the substrate you are working on during the software prompts. I am going to take this weekend to paint that so what this space for an update next week!
Check out my project on Cricut Design Space
Can I make some of these and sell them at a craft fair?
Sure!
I don’t have a cricket, so do you have the dimension where the half score starts and stops on a regular printer paper ?
see this tutorial
https://www.creativeinchicago.com/2017/07/paper-orb-tutorial.html