
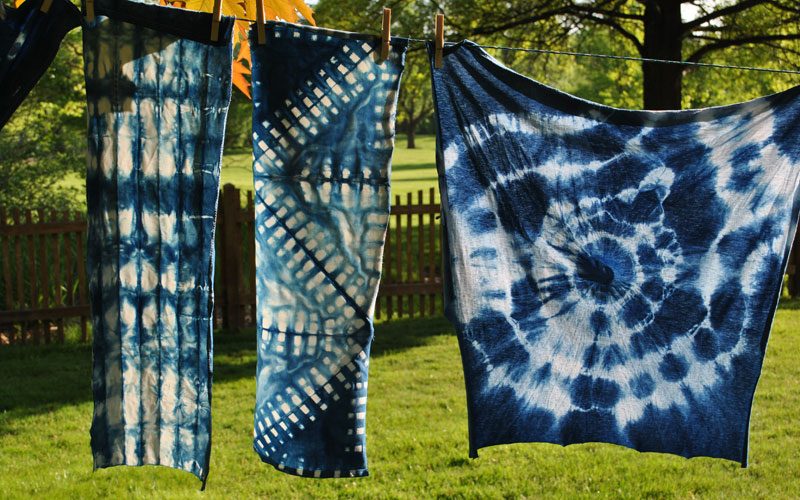
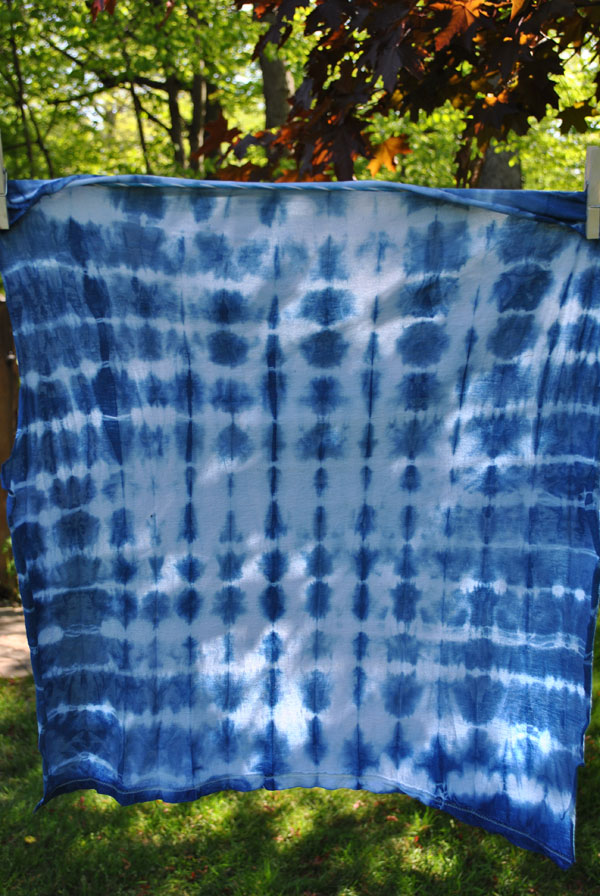
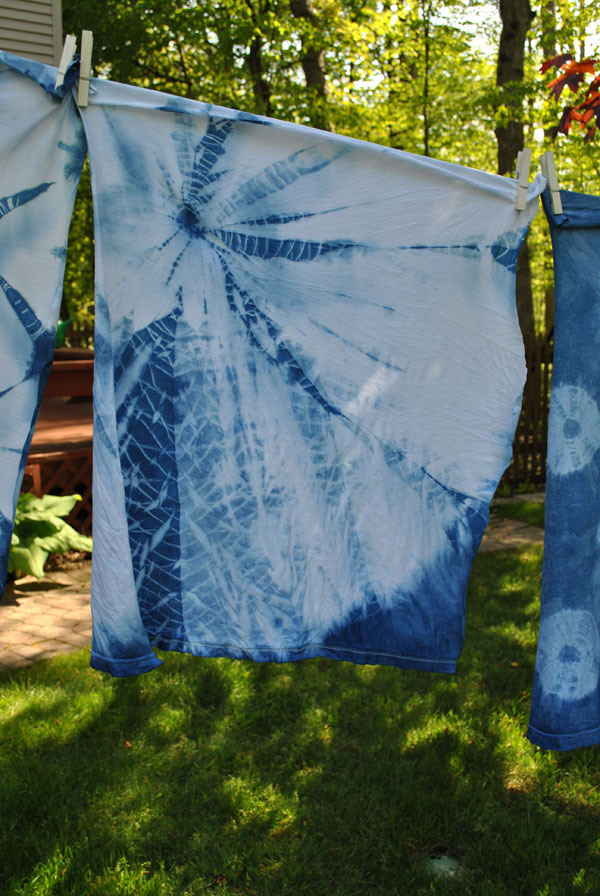
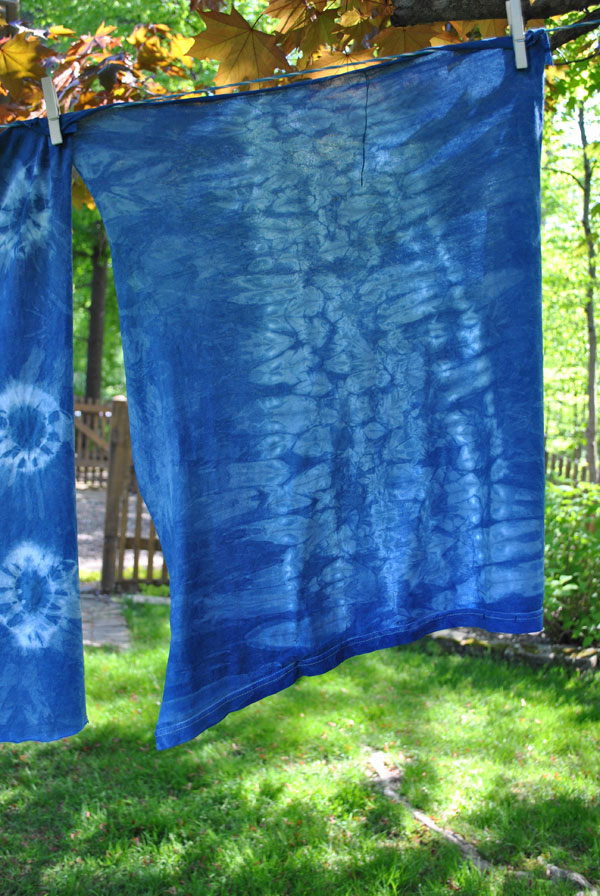
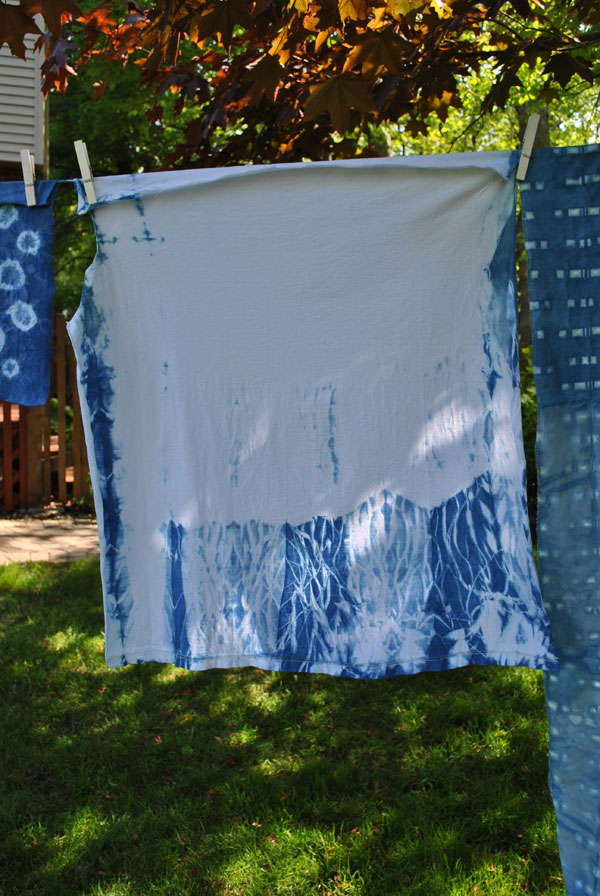
Earlier this week I shared with you my fun with Shibori tie dying and promised I would show you how I created each design …so here we go
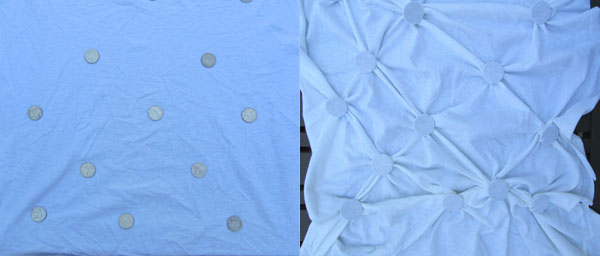
Quarters
Place quarters in lines on your fabric and secure in place with elastic bands
Golf Balls
Secure golf balls on your fabric with big fat elastic bands


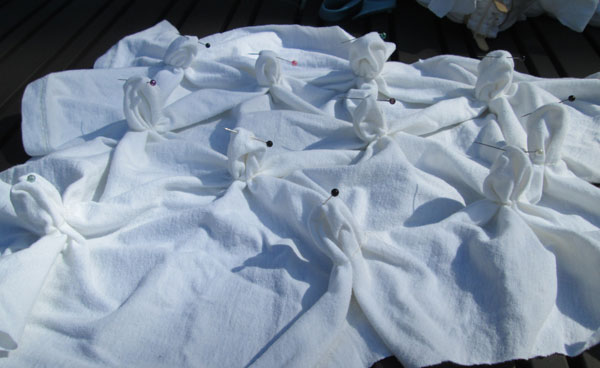
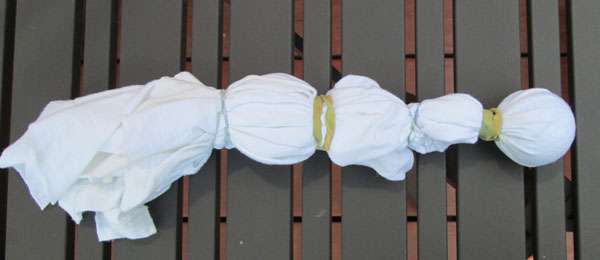
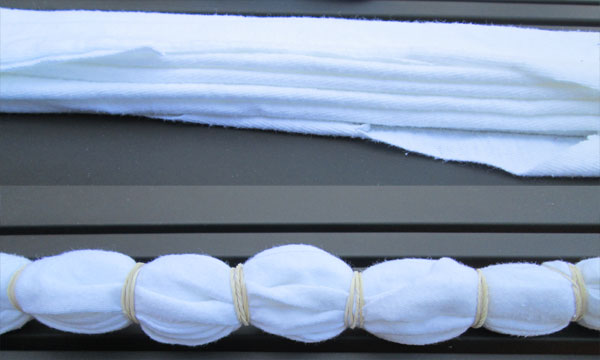
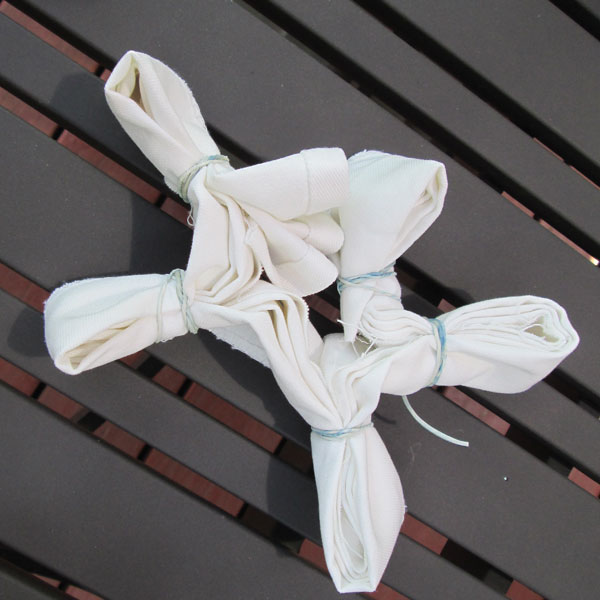
String Gathers
Gather sections of fabric- you can mark them with pins to get a more uniform pattern and make little towers about an inch tall. Wrap these towers with string.
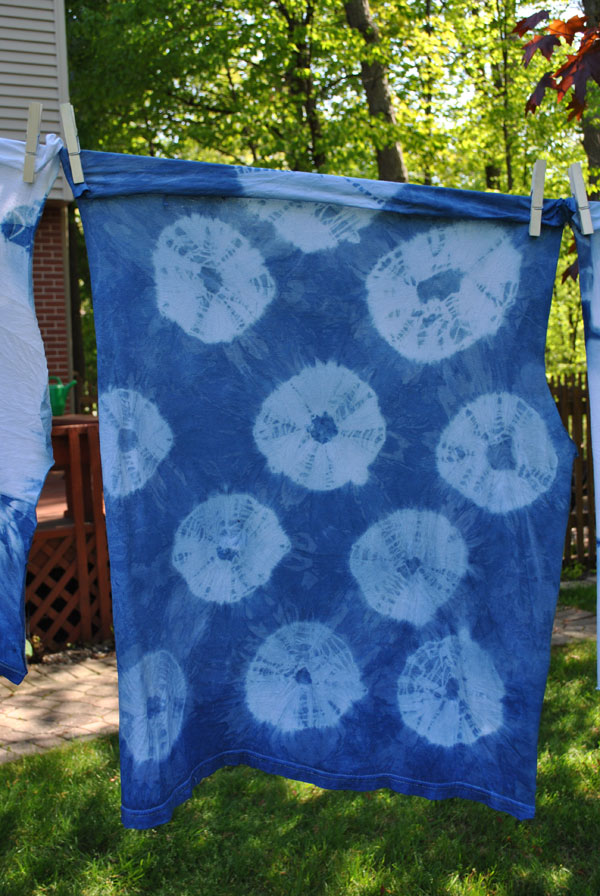
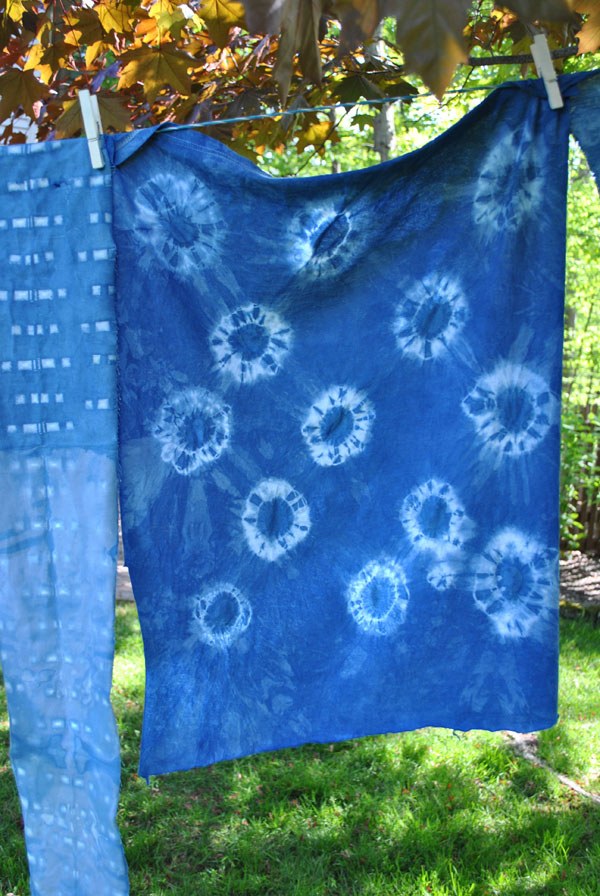
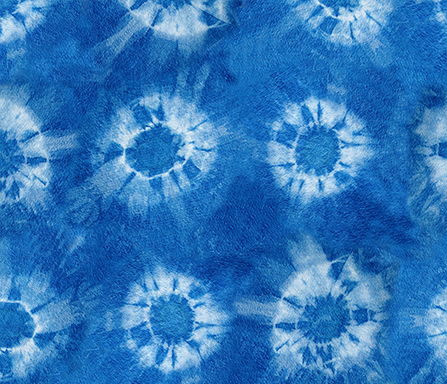
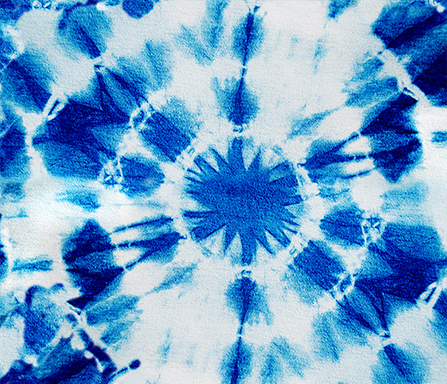
A Big Circle
A single golf ball in the center of the fabric gathered together with a few spaced out elastic bands
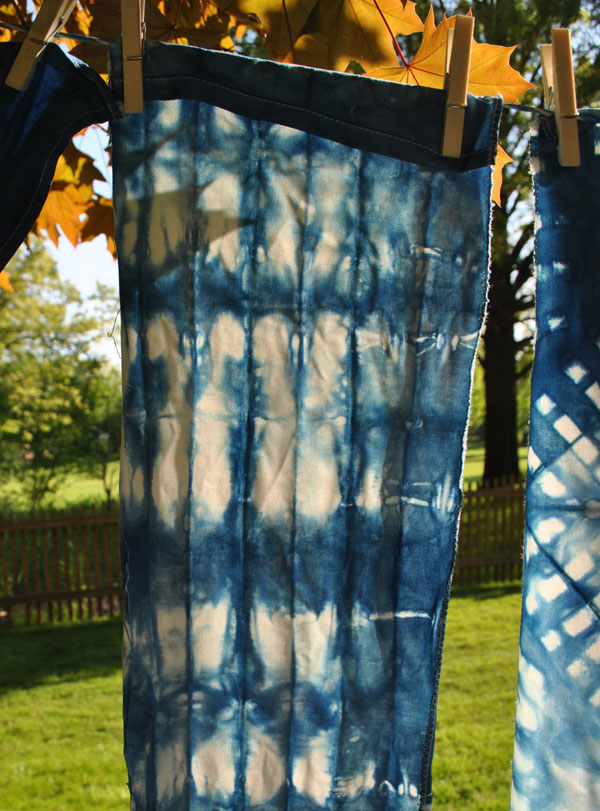
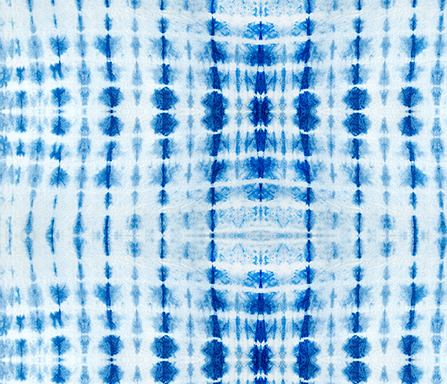
Accordion Fold
Fold your fabric like a fan and secure with elastic bands spaces a few inches apart.
or create loops in the accordion stack
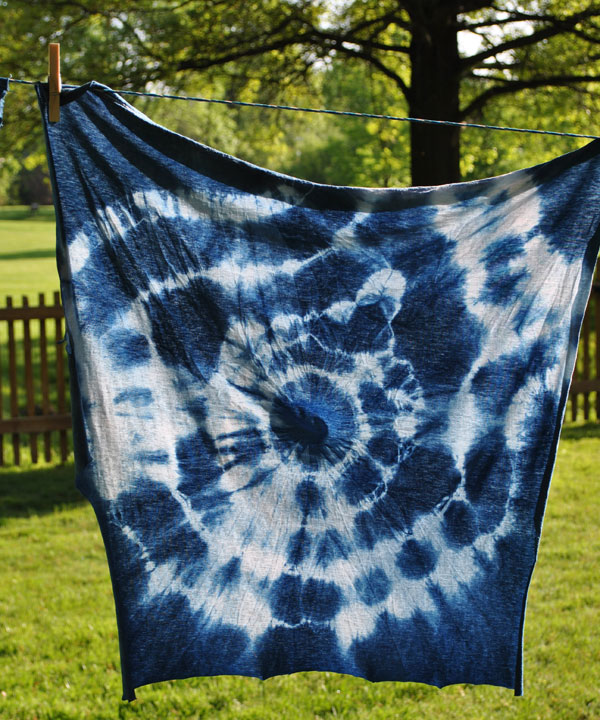
Side Circle
Pinch up a area of your fabric offset from the center. Secure with string and twist the rest of the fabric into a sausage shape and wrap with string
Triangles
Accordion fold your fabric so you have about 3″ folds. The fold your “folded fan” into triangles. Secure with elastic bands
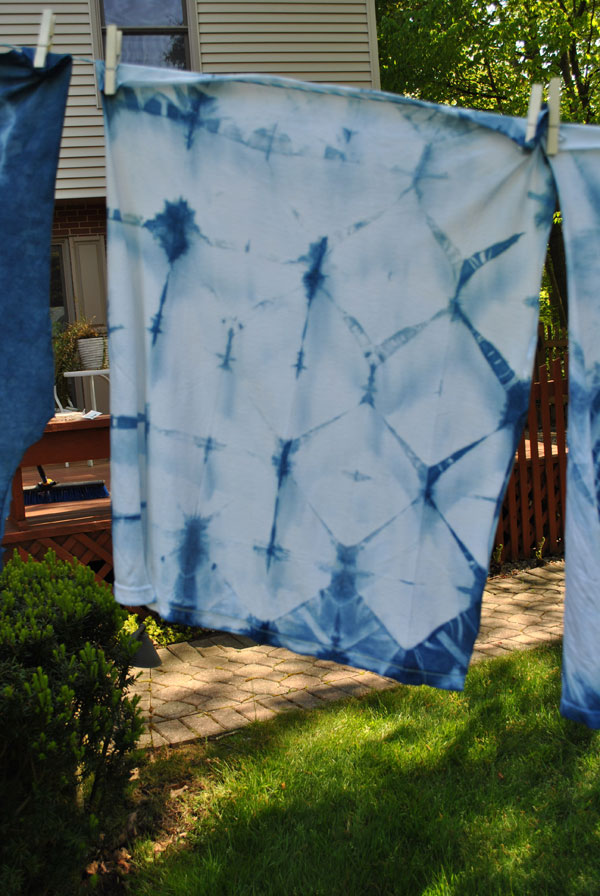
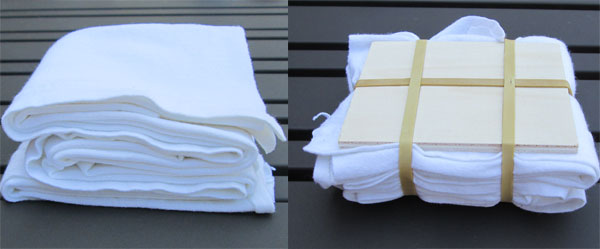
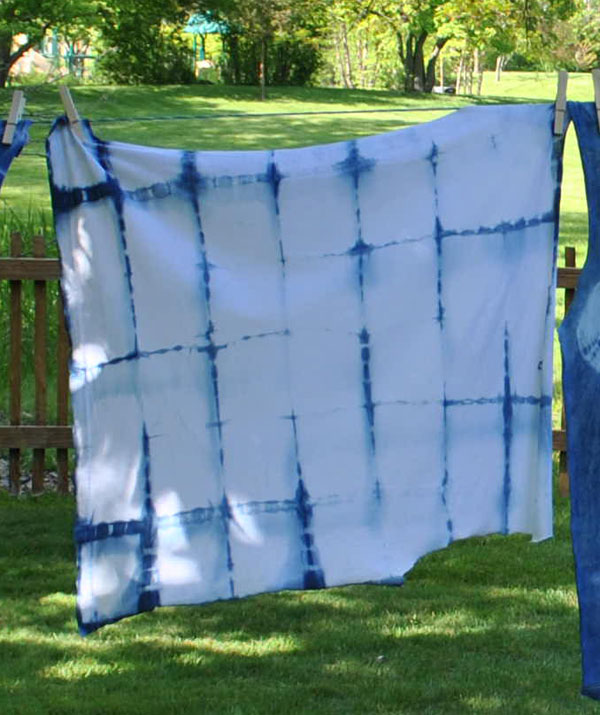
Squares
Accordion fold your fabric so you end up with a 4″ wide stack. The accordion fold your stack. Add a piece if wood to both sides and secure with elastic bands.
Tacked Circles
Create simple folds on your fabric and tack a semi circle pattern. Once you have all you fabric stitched pull your threads tight to bunch up the fabric
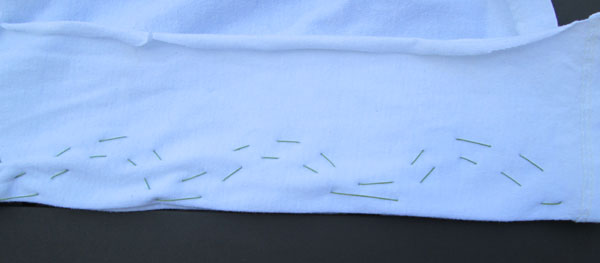
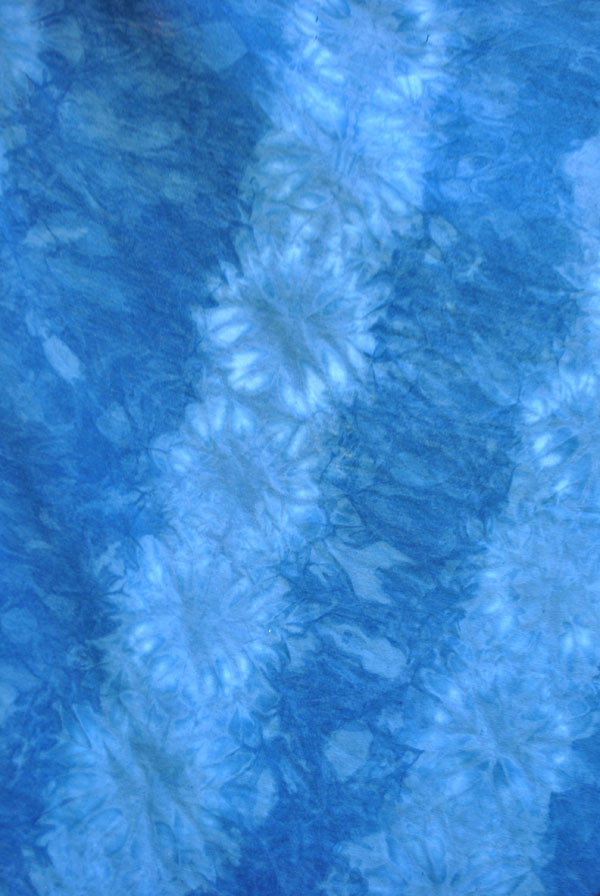

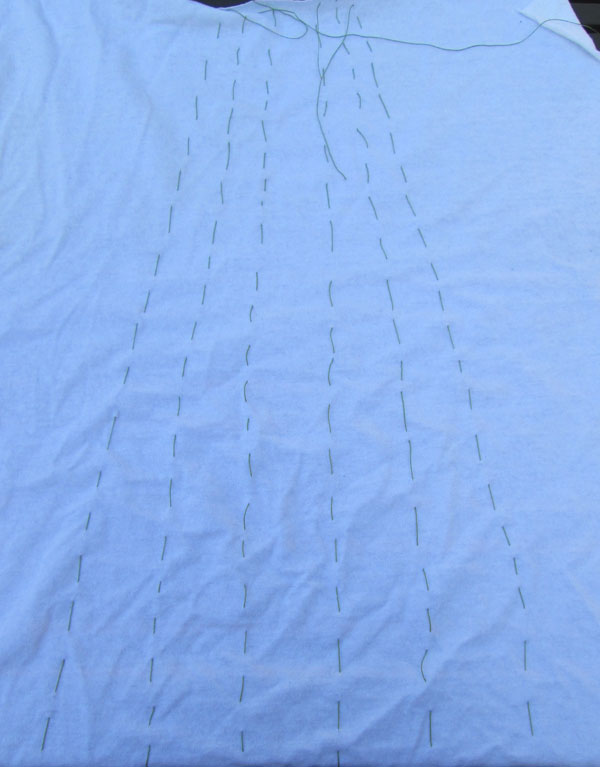
Stitched Lines
Tack some simple lines and pull stitches together to bunch up the fabric.
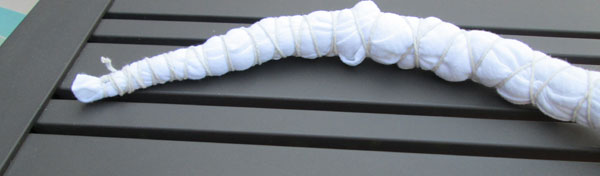
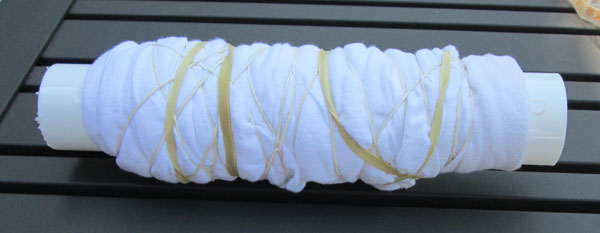
Cyclinder
Fold then wrap your fabric around a cylindrical object.
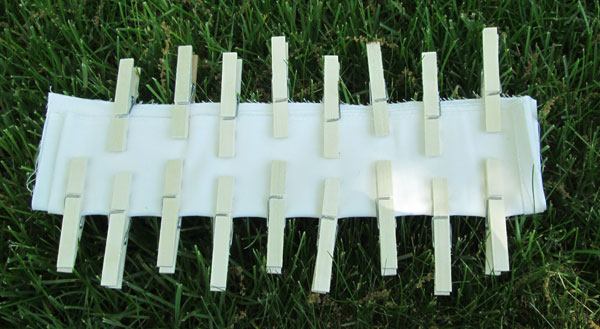
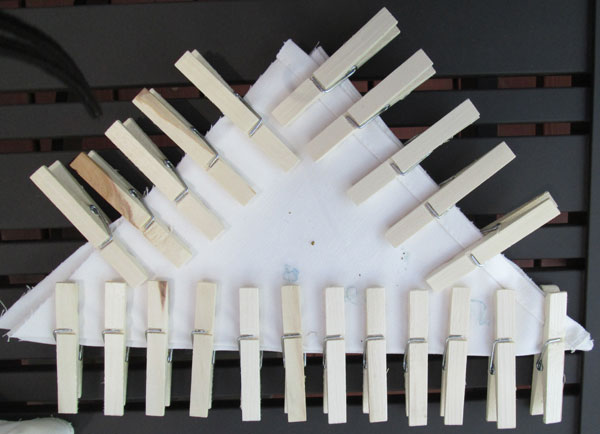
Pegs
Create a single fold in your fabric and pin wooden pegs along the edges
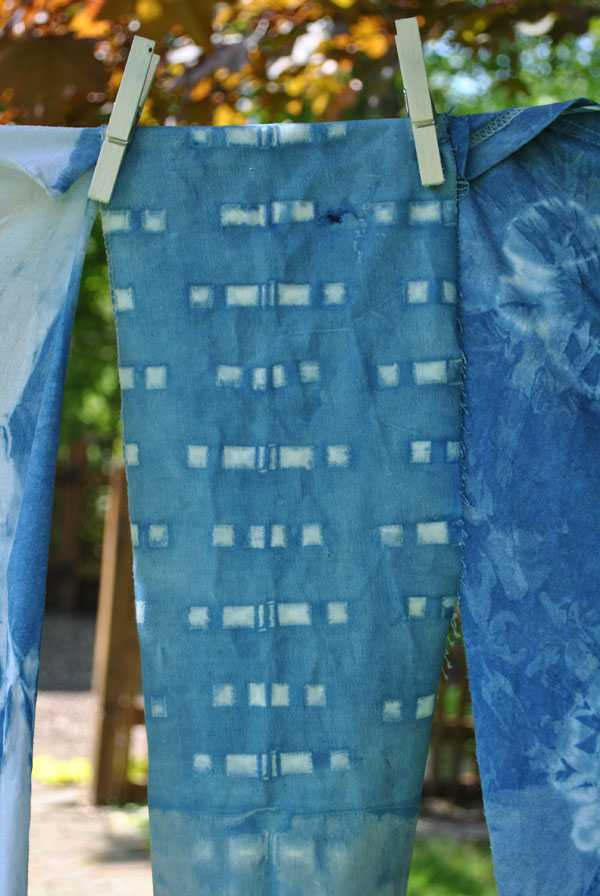
Or on wider fabric try accordion folding on wider fabrics
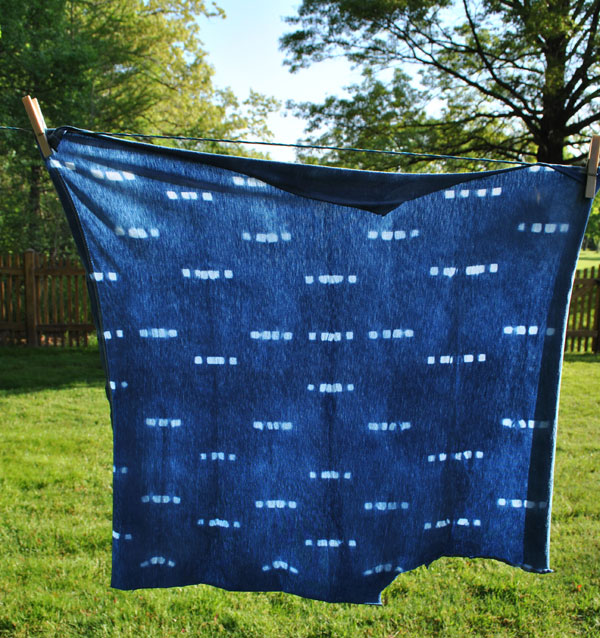
Or a simple triangular fold and pegs along all the edges produces stunning results.
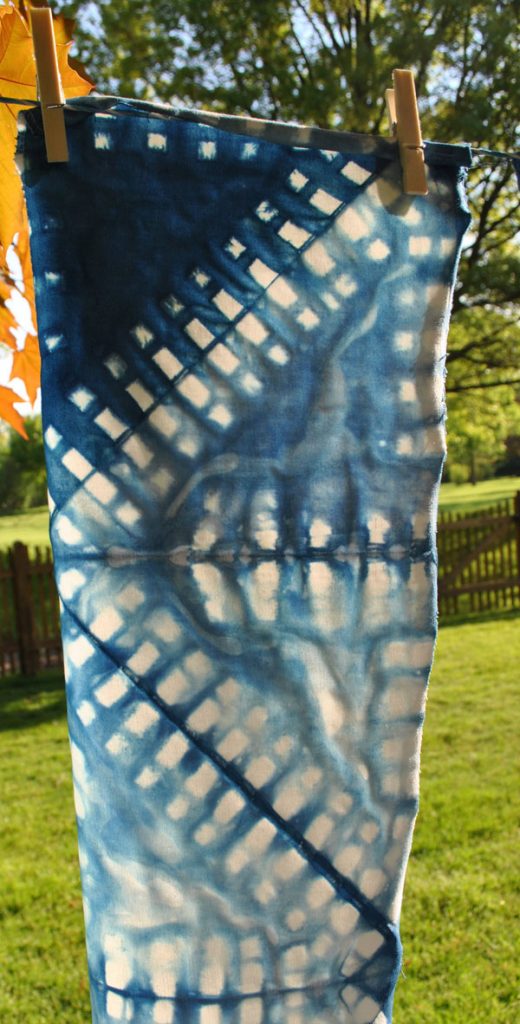
I found this whole process very addictive and it was hard to hold myself back from dying anything I could find in my house!
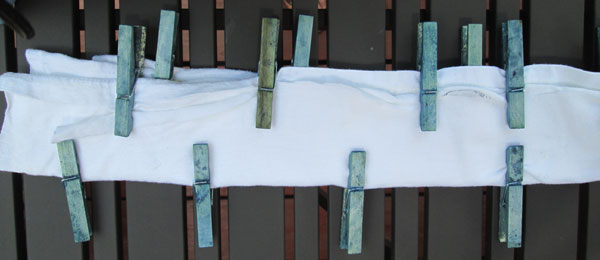
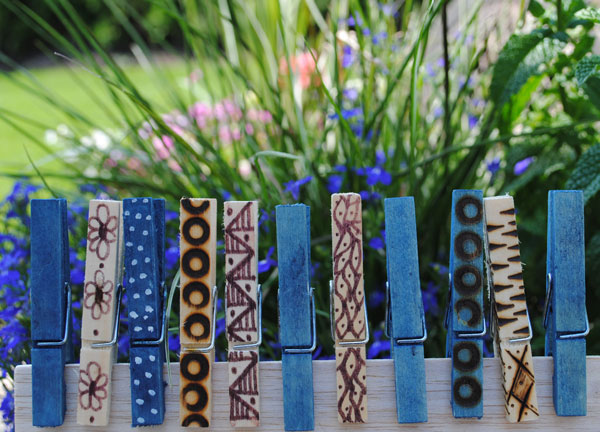
Oh and by the way if you are looking for an interesting use of all those blue clothes pins that are a happy by-product of this project, then take a look at this idea
Update!
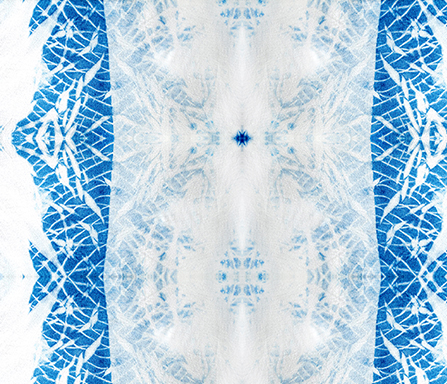
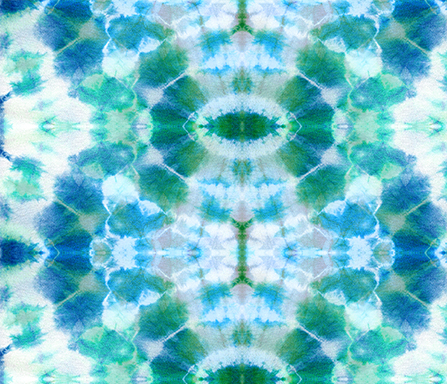
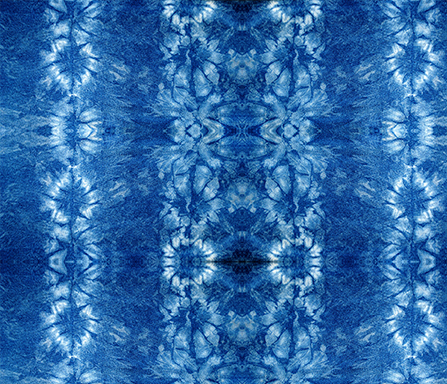
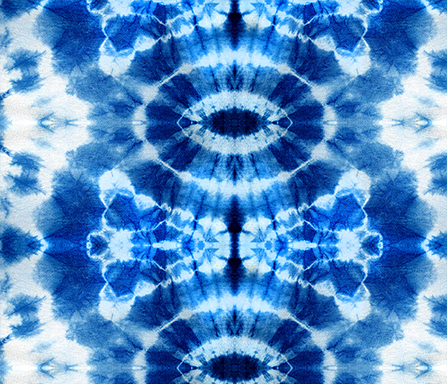
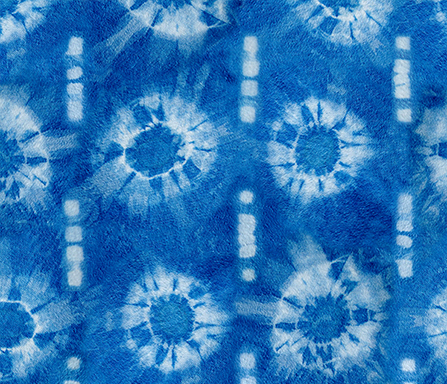
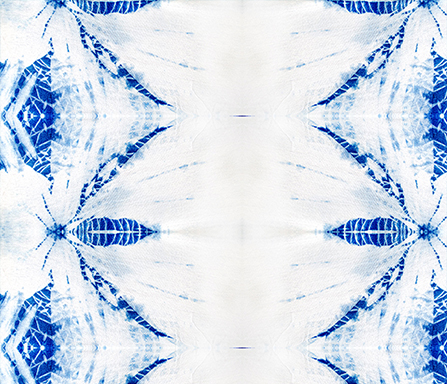
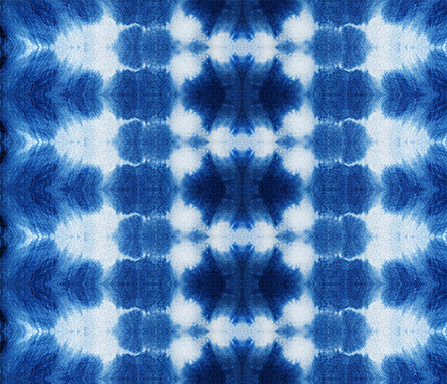
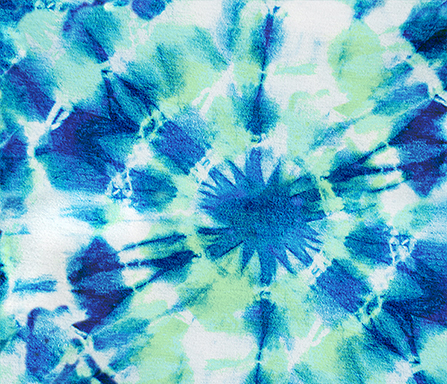
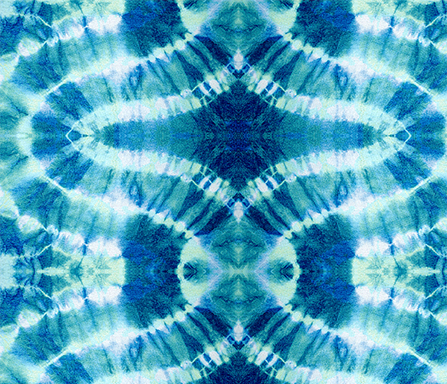
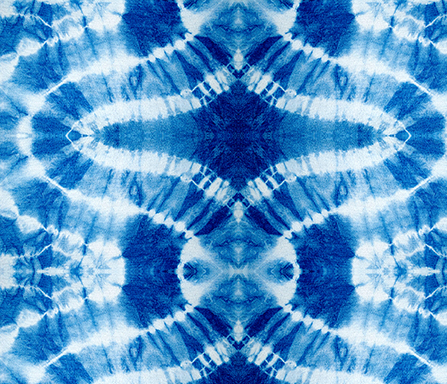
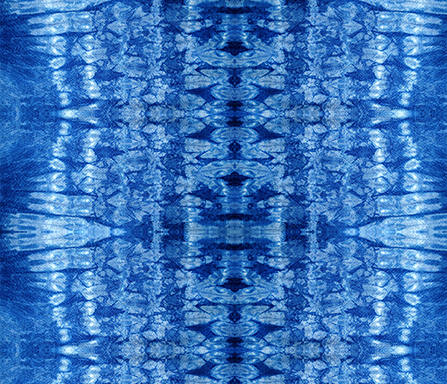
Love the look but can’t be bothered to make your own? then I have some good news for you. I turned all my designs into repeating patterns and the fabric is for sale in my Spoonflower shop . One of them even won a Spoonflower design challenge!

Love from
Creative in Chicago
XX
What type of fabric did you use? Broadcloth or Challis.
I used t-shirt jersey cotton
I adore your finished results!! Especially the last one with the triangular fold and pegs along all the edges. I’m going to dip dye a satchel sling purse today in three colors to get a graduated ombre result. I love to sew and have tons of white crinkle gauze fabric that I need to make things from so I think I’ll try a few of these lovely ideas you’ve so kindly shared. I’m subbing to your newsletter so I see other great tutorials flow through to view and enjoy. Thanks and enjoy your Summer.
Thanks Julie … I love the peg one too, the whole process was so addictive. I’d love to see some photos of your projects.
What type of paint do u use ?
Just acrylic craft paint
acrylic craft paint
I always wanted to know more folding technique in shibori dyeing and you just gave me the inspiration to be more creative. Did you use cotton fabric in dyeing or can silk fabric also be use with acrylic paint.
I used cotton and indigo dye. Here is a full post of what i did https://vco.lkt.temporary.site/2016/05/shibori-tie-dying-loveliness.html
I love this tutorial. How much did you dilute the acrylic paint? Did it stiffen the fabric? I am excited to try all the different folds! Thank so much
Judy
Hi Judy, I used indigo dye rather than acrylic paint. You can see another post on what I did here
Thank you for your tutorial ! Yogainu give inspiration !
Could you please tell me what kind of string do you use ?
Natural string or synthetic string ?
Thanx again
doesn’t matter…whatever you have on hand
Roughly how long do you leave it in the dye for?
About 5 minutes
do you wash the fabric first before you start the dye process?
Yes!
Have you ever done any reverse tie dye technique? I’m nervous to try it on a piece of clothing I’d love to change. Wanted to get your thoughts. Thanks!
I have never done reverse tie dye but I am now itching to have a go. The thing about tie dye is you never truly know how the design is going to turn out .. it is like Christmas morning unwrapping your creations. I am guessing it is the same for reverse tie dyeing. I would say go for it and have a go… send me photos!
Thank you for sharing your beautiful folding ideas.
I’m hosting a 60th bday party with a 60s theme, but was looking for more updated versions of tie dyeing.
Thanks for the inspiration.
Hi Zoe
On the Side Circle when you say twist like a sausage how exactly do you do that? I love doing Shibori and have done a lot of different ones but I want to try this. Thanks.
I think I just gathered everything together with the bit I had pinched out at the top. I made these a long time ago!