
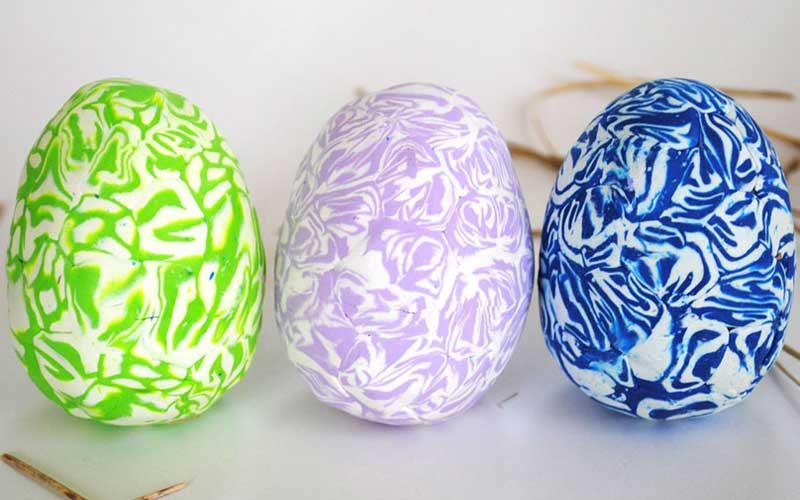
With Easter coming up I thought I’d have a bash at making some funky decorated Easter eggs. I have seen so many fab ideas on Pinterest and I am a bit late to the game but here we go …Polymer clay covered Easter Eggs
and so easy to make!
Here is what you will need
- Plastic eggs ( or you could use hard boiled real ones)
- Polymer Clay in a number of contrasting colors
- Knife and cutting board.
- A bit of patience!
You need to start by making polymer clay tiles like these
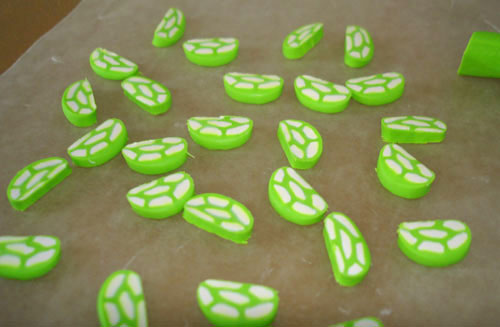
I have already written two tutorials outlining techniques for creating these the spotty tile here and a marbled tile here.
Once you have your tiles stick them all over your eggs and don’t worry about the gaps.
Then roll the eggs around to flatten and smooth out the clay and the gaps will disappear.
I didn’t bother to bake the eggs, I was a bit worried the plastic egg would melt : update, readers have commented that it is fine to go ahead and bake the eggs, they will not melt!

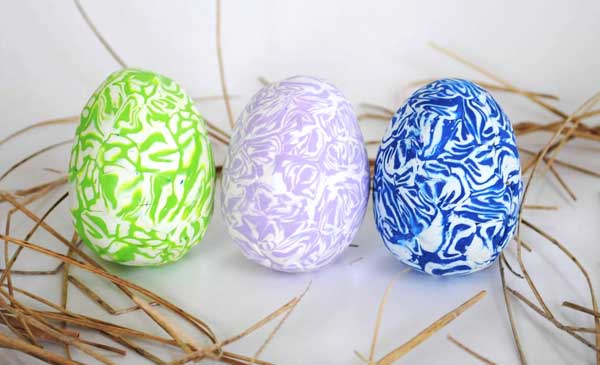
Enjoy!
If you make any I’d love to see them.
Love from
Creative in Chicago
XX
P.S. For more Easter Egg decorating ideas check out these posts

Painted Easter Eggs 
Dyed Pattern Easter Eggs
Fun idea! It adds a neat texture and it's so pretty. :]
I think I will try this but use blown eggs and put the clay around the shell. That way they can be baked!I bet a thin mokume gane veneer would work nicely.
If you don't bake the clay, will it harden by itself?
No the clay needs to be baked to harden but as I said in my post I didn't bake mine and they are still fine!
Late to the show but go ahead and bake them. Most plastic eggs are fine for the 30-45 minutes they take to bake. Do bake it on corn starch on a tray or accordion folded paper on a tray.
I know this is a bit late since this tutorial was made years ago but the plastic egg will be alright to bake since it is at a low temperature. I have baked many of them with no problem.
Never too late for a comment … next time I will try baking them!