
Dear Chicago House,
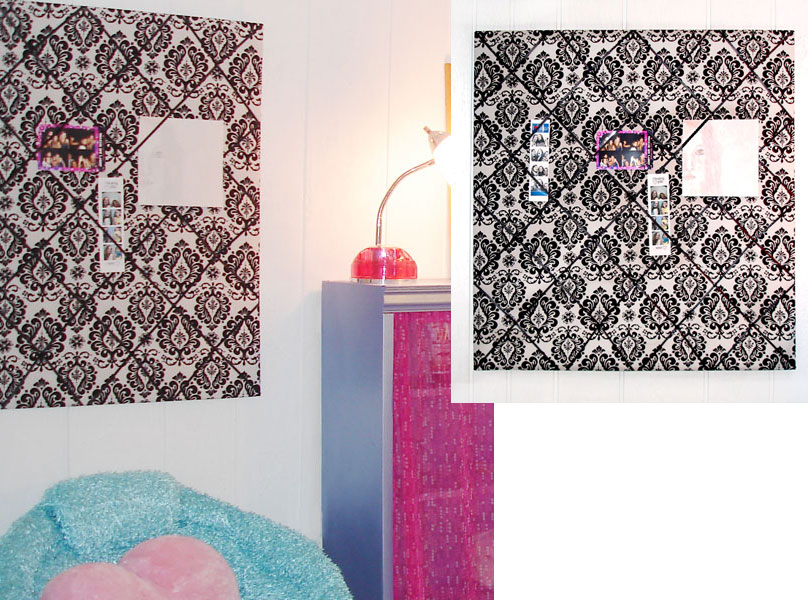
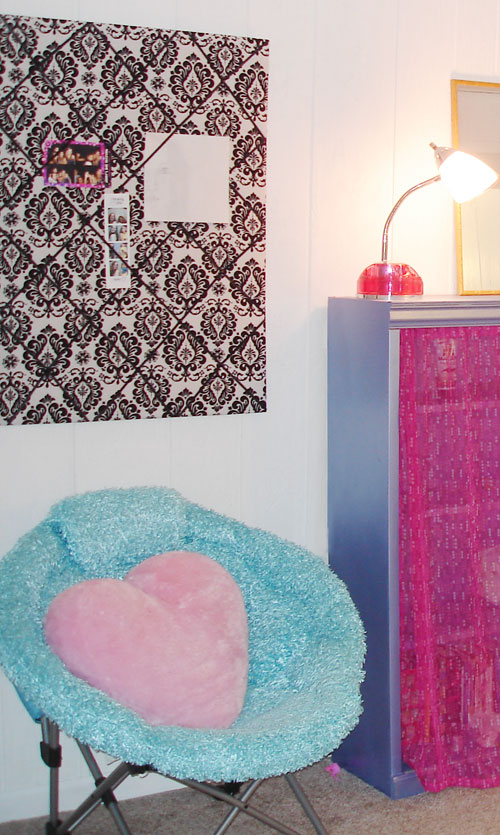
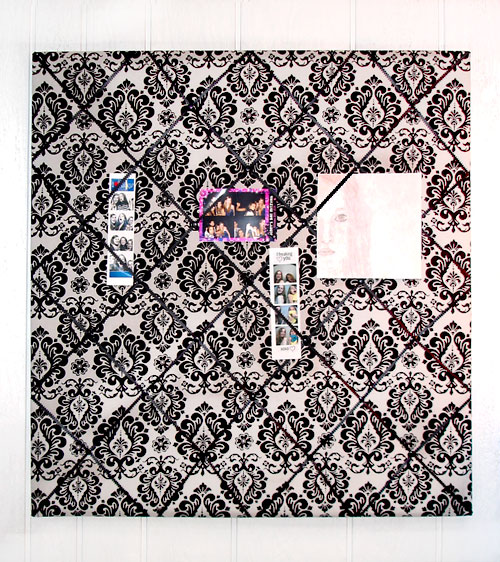
You know I love making things, right? Well today I am going to share with you how to DIY a custom fabric covered memo board, or a french memo board as they are sometimes known. This board is in the teenage penthouse room in your basement I revealed last week. I’ve got lots more to share with you about that room. Enough! lets fast forward and start by showing you the finished product.
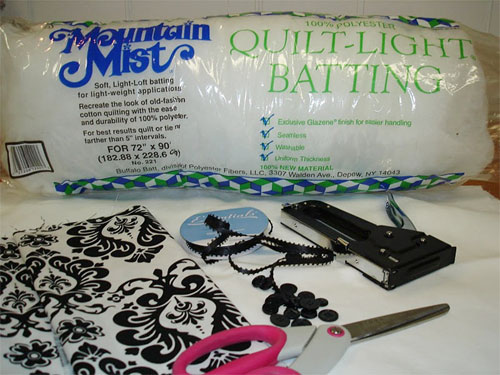
Here is what you need
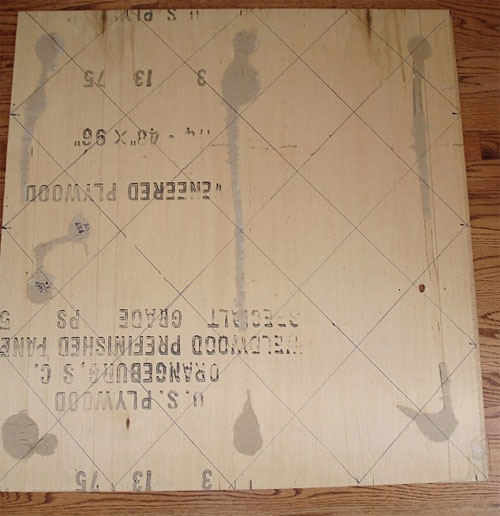
- A piece of plywood cut to the size of the finished board (I was lucky and found a piece of scrap lurking in a dark corner of the garage)
- Light quilt batting, enough so there is about a 3″ margin around the plywood.
- Fabric of your choice to coordinate with the decor of your room. You want enough so there is about a 4″ margin around the plywood.
- Buttons to coordinate with your fabric. The number of buttons depends on the size of your board.
- Ribbon, again the amount of ribbon depends on your board.
- Tools: Drill,ruler, marker, scissors, stapler, needle and threat
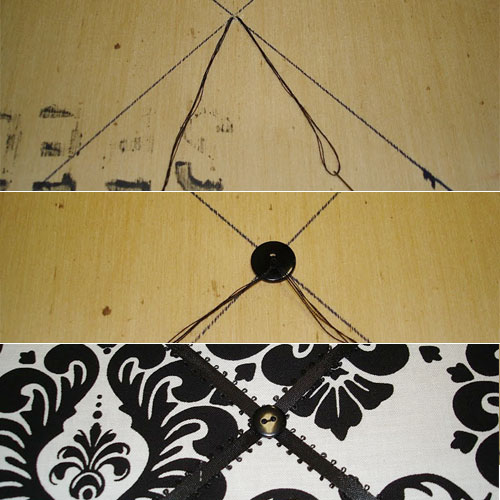
Start by marking out a grid pattern on the back of the board then with a fairly small drill bit ( but not too small), drill a hole though the board at every line intersection.
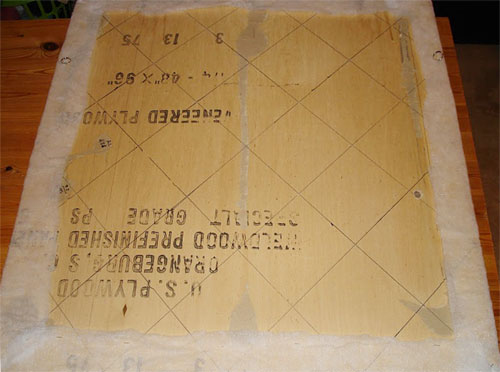
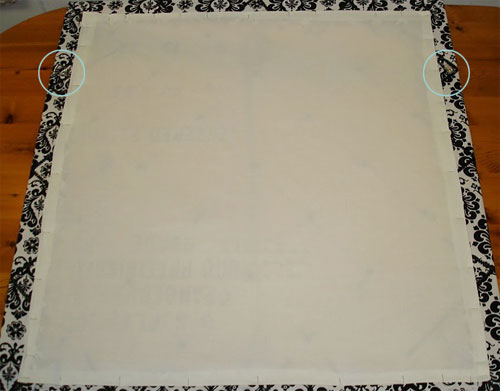
Then cut the quilt batting so it is about 3″ bigger then the board and staple it to the back of the board making sure it is nice and tight.
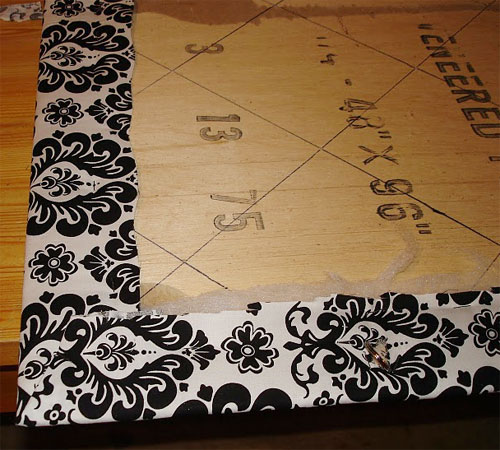
Then cut the fabric and repeat the process. You don’t have to worry about being too neat except at the corners.
Now its time to cut the ribbon. Lay it on the board to match up to the grid patten you created and snip each piece so it is 2″ longer at each end. Move your grid work of ribbon to a flat surface so you can keep track of which piece goes where.
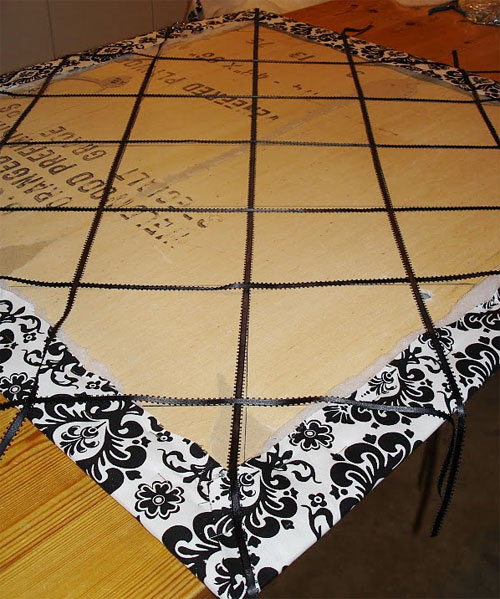
Starting with your two longest piece of ribbon, position the on the right side of your board and pin gently into place. Working on the very center hole on your board sew a button in place so the two piece of ribbon are secure.
- Start from the back of the board
- Push the needle through the drilled hole
- Push the needle through both pieces of ribbon
- Thread on the button
- Push the needle back through the ribbon and drilled hole to the back of the board.
An additional button is used on the back of the board to anchor the front button in place. This can be quite fiddly to do!
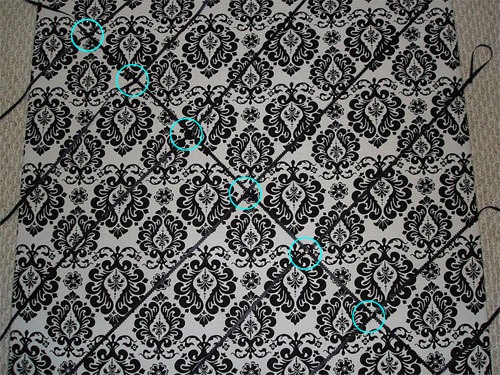
Working out along one of the initial piece of ribbon secure further ribbon with buttons as described above. Then work along the other original diagonal.
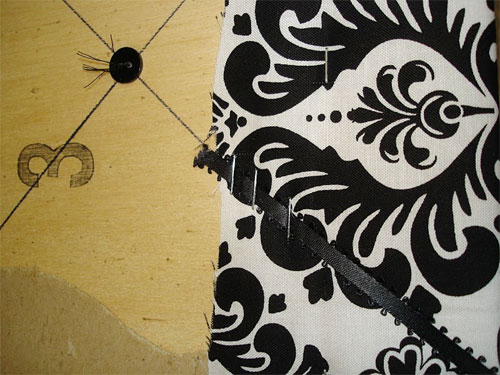
When all of the ribbon is secure and buttons are in place staple remaining lengths of ribbon to the back of the board, it helps to use a number of staples.
This is how the back of the board will look at this stage.
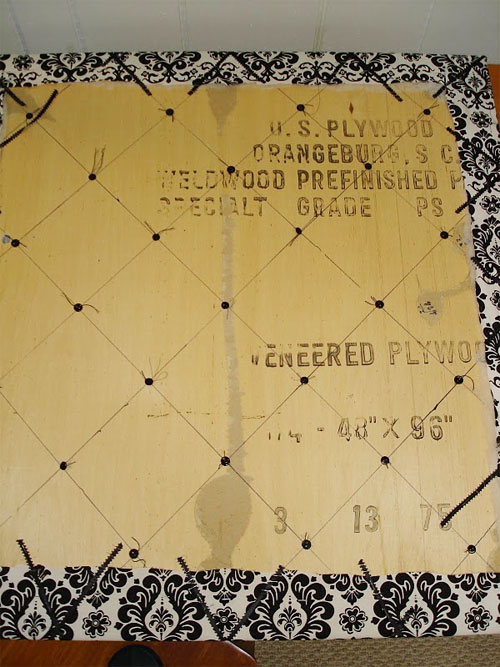
It’s fine to leave it like this but if you are a bit of a perfectionist like me you might like to tidy it up a bit with some additional fabric. I used old curtain lining for this and cut it so I could turn the edges under and create a nice finished edge. Staples were used to hold it in place. I also added a couple of rings to hand the board.
And hey presto
Isn’t it a fun place to share all those little mementos.
Love from
Creative in Chicago
XXX
Linking with
addicted2decorating | bunnyjeandecor | lovelaughcraft | southernlovely | alittletipsy | somedaycrafts | homestoriesa2z | adiamondinthestuff | lilluna | handymancraftywoman | primp |
Oh wow!! Super stinkin' cute!! I am in love with this fabric!! Great job!!
I TOTALLY appreciate all the steps and pics you laid out-thank you! What a fun project!
It turned out lovely! The pattern is great. Thanks for linking up with DIY under $5!
That is a great looking memo board and any teenager would love it… so much better than tape all over the walls 😉
xoxo Bunny Jean
@ Bunny Jean's Decor and More!
(my MAIN blog)
Thanks for this great tutorial. I realize the post is a couple of years old, but I was wondering if you possibly remember how thick the plywood is? It looks like it might say 1/4", but I can't tell for sure.